
The easiest image change I do is finding a guy in briefs and putting him against the same background or a plain black one. I'm not doing that here. I chose a somewhat challenging image of social media hunk Trace Trainer (@tracetrainer on Twitter). I did think about doing an easier image, but this one has everything I ever need to do so I think it's more helpful. If all you want to do is change briefs into trunks and the background, that's here. But you can also do a lot more.

- Cropping to size
- New background
- New gear
The not-so-basics ...
- Changing gear style from shorts to briefs
- Adding elements, in this case a cowboy hat and footstool
- Adjusting image appearance
First up ... the program. I use Adobe PhotoShop Elements. This is the 2020 version and it costs $100US. I don't think that's too bad considering all it does but you know your budget.
This is what it looks like when you open it.
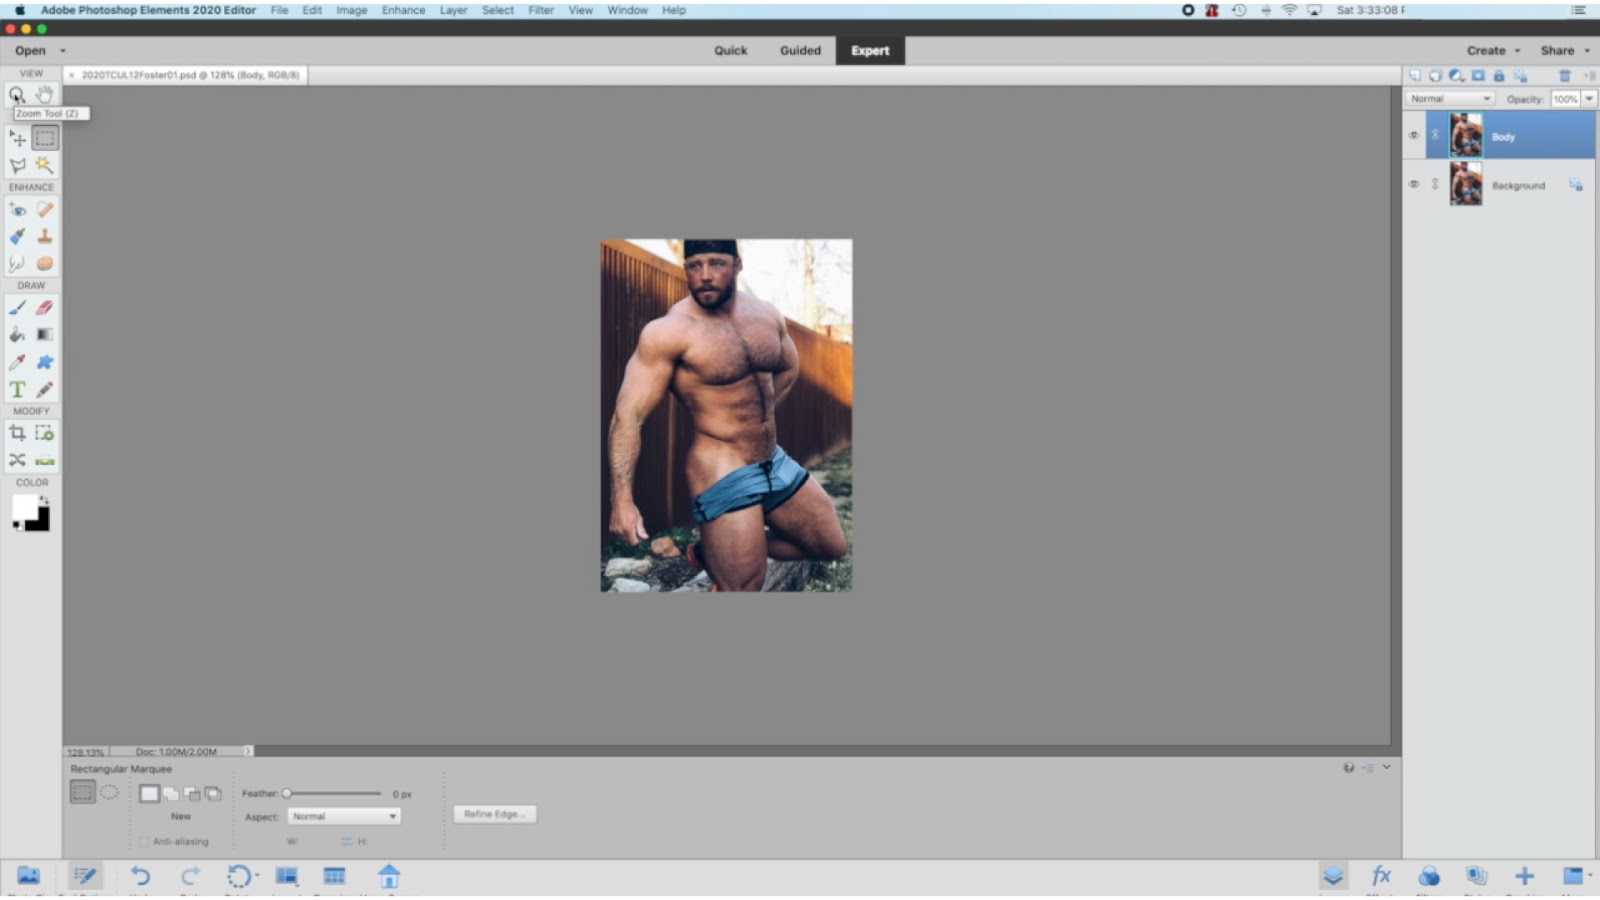
Nice big blank screen so I added a few text boxes to show demonstrate where things are. The image will be in the middle and there's stuff top, bottom, left and right.
- Top: For demonstration, I have used the top menus throughout. I normally use key strokes, but that wasn't visually helpful.
- Bottom: The details for whatever tools you use. If you're zooming, the choice for in/out and % will be down there. If you're selecting, the choice for box or circle will be down there. Brush sizes, fonts, all that stuff.
- Left: All the tools. I only use a few but those few are super-important.
- Right: All your layers. Layers are essential. They keep you from messing up, they enable you to play, and they allow you to do things like shading and props. They can be frustrating until you get used to them (making a bunch of changes in the wrong layer is the worst!) but practice. They're worth it.

STEP ONE: GETTING YOUR IMAGE READY
Okay, you're ready to begin. You might notice the clock on the top bar. 3:31. I ended at 4:21. So just under an hour for this more complex change. A basic one can be super-fast once you get the hang of it. This time includes everything (including recording the screen, slowing down for demonstrations, and searching for backgrounds, hats and footstools).
Okay, you're ready to begin. You might notice the clock on the top bar. 3:31. I ended at 4:21. So just under an hour for this more complex change. A basic one can be super-fast once you get the hang of it. This time includes everything (including recording the screen, slowing down for demonstrations, and searching for backgrounds, hats and footstools).
Now, open your image! Where did I put Trace ...


There he is. For the blog, I have a specific size that I usually use: 500x700 pixels. I don't need all the room on the sides or top, so that's where I start. I crop out the sides then change the image size to width 500 pixels. I then crop the top to where I want the image to start. I know I'm going to want to add a hat but not the whole thing. I want the body to be the focus. If you don't care about the image size or surroundings, you can skip all this.
Start with the rectangle select tool (you can see it highlighted on the left tool panel). Select the amount of the image you want then select crop.

Boom. Now, the sides are gone. I do the same to remove the top portion. This is also convenient for getting rid of hard to clip hair (a later step). It makes life easier to not have to try to trace hair.

I change the image width to 500 pixels. You don't have to, obviously.

Now I use Canvas Size to make it 700 pixels high. Note that when you're changing the canvas size to be smaller, you can select where the canvas begins. In this case, I want to keep the top so I pick that. The default is the middle, but it's something to note.


STEP TWO: THE BODY
Now it's time to get to work. First, always make new layers. You'll see by the end that I have a ton of them. The first layer to make is a duplicate of the background.


This is the first time I save. You should save frequently. I won't show every time I save but I usually do it after every single little thing that I do. I should also say that UNDO is your friend as well.

Okay, we're all set with our background layer and a new body layer. Now you're going to trace the body. There are two ways to do this - cut out the stuff you don't want or copying the stuff you do. Cutting is easier because you can do it in stages.
Zoom in really tightly so you have a lot of control. I use the polygonal lasso. The just move and click around his curvy, sexy muscles.

 |
| Keep moving the selection tool. |


Hm, it's gone, but you can't see it. There are two solves. One is to hide the background, but my preference is to make a new layer of black using the Layer tool - new layer. name it Black.

The colors are on the lower left of the tool menu. One is the foreground color. The other is the background color.
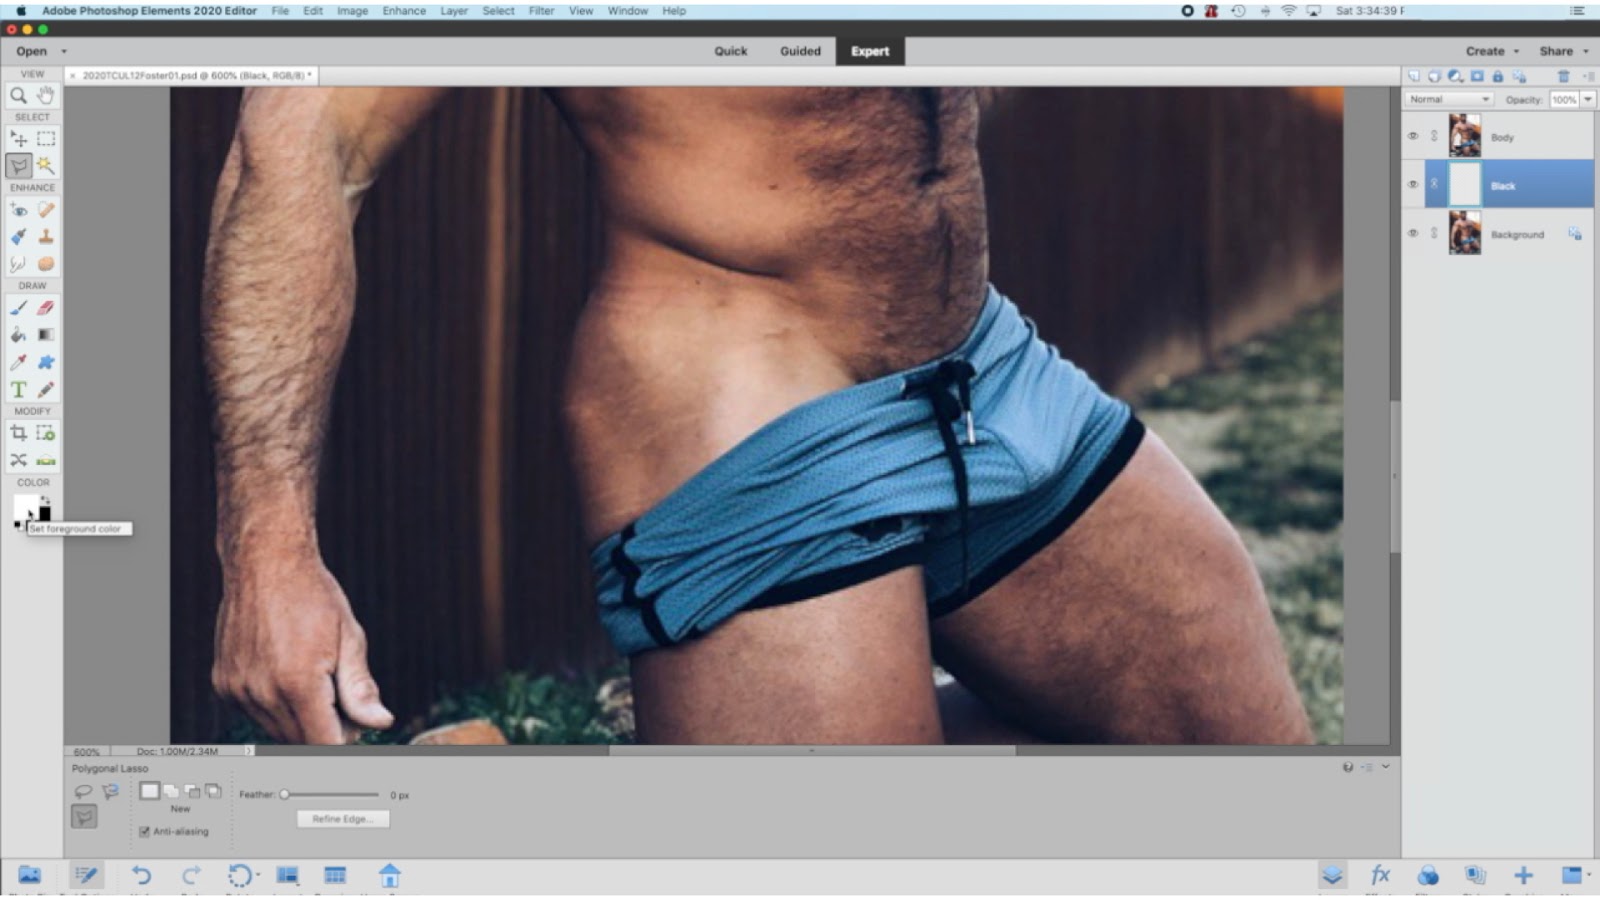

Here, you can see they're white for the foreground and black for the background. I want the foreground to be black. Click on the foreground color and the color palette pops up. You have a million options. You can select what you want. If you want a specific color in the image, you can move the cursor over that color to use the eyedropper and get that exact color. I just want black, so it's easier to select it.


Definitely save at this point. One other thing I like to do is make another duplicate layer, calling something like Body 2. Just in case. I move it behind the black layer and it's safe there in case I mess up.


There are lots of adjustments you can make. Some are preset. I like to give Auto Smart Fix a try. Just to see what happens. Here, it's made it darker and more focused. I like him with a tan and if I'm going to use a crisp background later, this will probably look better. Let's keep the image this way. If I don't like it, I click UNDO.

STEP THREE: THE TRUNKS
All right, now we have a hot muscular body against a black background. If you only want to change the background, you can do that now. But I want Trace in trunks, not shorts. And so, I'm doing something more complicated than it would be if I'd picked a base model in briefs or a speedo. That means I'll have to try to turn fabric into skin. Or more accurately, cover fabric with skin.
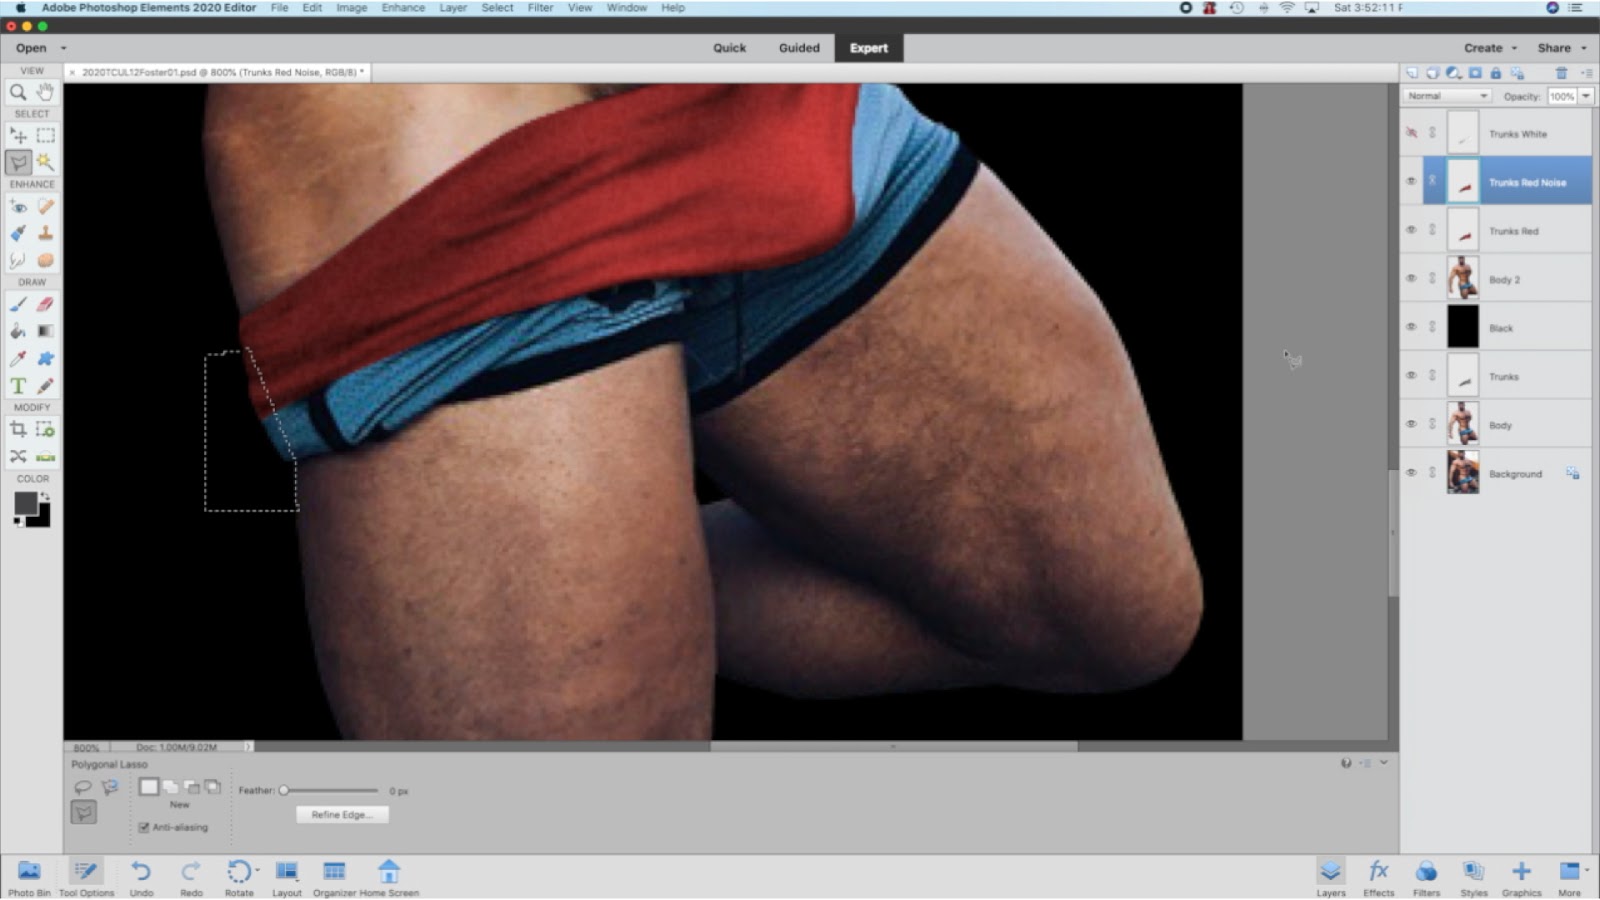
First off, zoom in where you want to work.

Next, trace the trunks. In this case, I'm tracing around where I want trunks to be and leaving the legs of the shorts unselected.

Now, copy and paste. That'll create a layer that you should re-name as "Trunks" or some other name that helps you remember and find them later.

It's easiest to work on this if I make the briefs black and white. I'll be changing the color, anyway. You go to adjust color and select remove color.

Now, you can reselect the area you traced for the trunks so you can work.

Unless you didn't trace it exactly, in which case, choose the magic wand select tool on the left. Click outside the trunks and it'll select everything that isn't the trunks. You can then invert the selection and it'll select the trunks. That's a technique that comes in handy for selecting things later, so if you don't understand it, let me know in the comments.
Now, if you like the fabric, you can move on. I don't want the laces or the stripe. I also want a smoother look. Time to use the smudge tool to smooth it all out. I select the tool on the left, play with the size and style at the bottom (you can change throughout depending on whether you're changing big or small areas).

To smudge, I click and move the cursor along the lines of the fabric. I want to keep the folds and such, just make it more smoothly. I can always UNDO. This takes as long as it takes until I get to something that looks how I like.


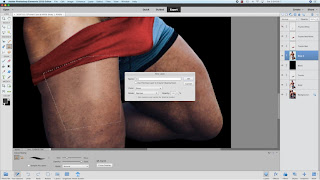
A pop up allows me to alter the brightness (white to black) and contrast (intensity and differences). This is also about playing until I like it. Move it to the right and it turns black. How black? I want to keep the look of fabric so I might not go all black.


Not bad. What about white trunks? Same thing, just slide the other way. Trace would look great in either one. But I think a color would be better.

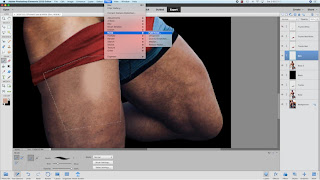
To make them a color, I go to adjust color then adjust hue/saturation.

Click the colorize box. Otherwise, it won't work this way. Now, slide the color, saturation and lightness bars until you get something nice. It's super-easy. You can see how I got purple, pink the settled on red. Pretty much any color is possible with the right combination or options.


ALL THE GIFS ARE SPED UP 4X.
This might be the hardest thing to do and the most frustrating. At this point, I often wonder if I'm being stupid and should I just keep him in shorts or make these tights? I didn't here to show what to do but I could just use the same steps I did for trunks to do either of those things and it'd be way faster. This would've been a 30-minute job instead of a 50-minute one.
I'm going to try to change the shorts into flesh. The key tool here is the clone stamp. It allows you to copy one area onto another. This way you can copy the fleshy part of the leg over the shorts. The problem is that you get a weird repeating pattern when you do it. So in order to fix that, you need to keep working at it. Clone from different areas and then use the paint brush then add noise and blur. It'll all make sense (I think).
First, get rid of the shorts that are outside where the leg and butt would be. Select the stuff you want rid of then cut it away.

Select the area you want to cover. Do it bigger to give yourself more freedom.

Now select the clone stamp tool on the left. Hold down the OPTION key (on a Mac, not sure on a PC). Click the area that you want to copy over the shorts. In this case, I clicked lower down the leg. Now run the mouse over the shorts and it puts the flesh over the shorts. It's better than it was, however, it's not right. Like I said, there's a pattern on the leg from the copying. (Remember this is sped up 4X). I'll fix that in a moment.


I like to create a new layer for this in case I mess it up.
Click on the paint brush. Use the eyedropper to change the color to the be the same as the part of the leg you want to. Brush over it.

Now, it doesn't look like skin. So how I deal with that is using a filter called Add Noise. It pixelates an area and can make things look a little more like flesh and skin. Make it monochromatic and play with the size.
It still won't look great but if you use Blur (or Blur More), it softens the noise and usually looks pretty good.
Now repeat this on the other leg.
With this leg, there should be a lot of shadow. Make a new layer (just in case). Use the eyedropper to match the darkest part of the left leg. Now just use the Paint Brush on a soft brush to paint the area.


STEP FIVE: BACKGROUND/ADD-ONS
Now here's the finale. This is pretty easy since you have layers. Find a background you like. Paste it as a layer below the body. Move and resize it until it's the right size and angle.

At this point, I like to play with the color, brightness, contrast, etc. I do this for the background and the body. I try the Auto Smart Fix. If it's not good, I try it manually with Brightness/Contrast. If you have body parts on different layers, Auto Smart Fix, Auto Contrast, etc. will not work well because they won't adjust them in the same way. Definitely do it all manually.


I also added a footstool and hat using the same techniques. Here's the hat. To get rid of the white, I used the magic wand. It gets rid of everything that's one color. Choose the tool then click on the white, it will select it then cut to remove it. This only works if there is an absolutely clean line. Otherwise, you need to trace the object, which takes a little longer.


That's it. I hope it's clear and encourages you to try to play. You can use the same methods to make heroes, wrestling or any other type of changes you want.
Alex

It's easiest to work on this if I make the briefs black and white. I'll be changing the color, anyway. You go to adjust color and select remove color.

Now, you can reselect the area you traced for the trunks so you can work.

Unless you didn't trace it exactly, in which case, choose the magic wand select tool on the left. Click outside the trunks and it'll select everything that isn't the trunks. You can then invert the selection and it'll select the trunks. That's a technique that comes in handy for selecting things later, so if you don't understand it, let me know in the comments.
 |
| See the magic wand? Click outside the trunks and you get everything but the trunks. |
 |
| Now invert the selection and voila, trunks are selected perfectly. |

To smudge, I click and move the cursor along the lines of the fabric. I want to keep the folds and such, just make it more smoothly. I can always UNDO. This takes as long as it takes until I get to something that looks how I like.

Okay, I've got gray trunks looking pretty good. Now, CREATE A DUPLICATE LAYER. This way you can keep making changes but you have nice base trunks just in case.
What color should Trace wear? Let's start with black. Go to adjust lighting -> brightness/contrast.

A pop up allows me to alter the brightness (white to black) and contrast (intensity and differences). This is also about playing until I like it. Move it to the right and it turns black. How black? I want to keep the look of fabric so I might not go all black.


Not bad. What about white trunks? Same thing, just slide the other way. Trace would look great in either one. But I think a color would be better.

To make them a color, I go to adjust color then adjust hue/saturation.


Now, they're fine the way they are but sometimes you do want a little texture. I use "Add Noise" in the Filter drop down. You should really play in this area, too. There are so many options that do so many things. It's crazy. Anyway, I often add noise to create some texture then blur it to soften the look.


With my red trunks done (but my black and white still hanging around in case i change my mind, which I often do), the next thing to tackle is the legs.
STEP FOUR: THE LEGS!
ALL THE GIFS ARE SPED UP 4X.
I'm going to try to change the shorts into flesh. The key tool here is the clone stamp. It allows you to copy one area onto another. This way you can copy the fleshy part of the leg over the shorts. The problem is that you get a weird repeating pattern when you do it. So in order to fix that, you need to keep working at it. Clone from different areas and then use the paint brush then add noise and blur. It'll all make sense (I think).
First, get rid of the shorts that are outside where the leg and butt would be. Select the stuff you want rid of then cut it away.
Select the area you want to cover. Do it bigger to give yourself more freedom.


I like to create a new layer for this in case I mess it up.

Click on the paint brush. Use the eyedropper to change the color to the be the same as the part of the leg you want to. Brush over it.

Now, it doesn't look like skin. So how I deal with that is using a filter called Add Noise. It pixelates an area and can make things look a little more like flesh and skin. Make it monochromatic and play with the size.
It still won't look great but if you use Blur (or Blur More), it softens the noise and usually looks pretty good.


With this leg, there should be a lot of shadow. Make a new layer (just in case). Use the eyedropper to match the darkest part of the left leg. Now just use the Paint Brush on a soft brush to paint the area.

You might notice the background is different. I didn't like how the left leg looked so I went back and did the paint brush / add noise / blur method and I think it looks better.


STEP FIVE: BACKGROUND/ADD-ONS
Now here's the finale. This is pretty easy since you have layers. Find a background you like. Paste it as a layer below the body. Move and resize it until it's the right size and angle.

At this point, I like to play with the color, brightness, contrast, etc. I do this for the background and the body. I try the Auto Smart Fix. If it's not good, I try it manually with Brightness/Contrast. If you have body parts on different layers, Auto Smart Fix, Auto Contrast, etc. will not work well because they won't adjust them in the same way. Definitely do it all manually.


I also added a footstool and hat using the same techniques. Here's the hat. To get rid of the white, I used the magic wand. It gets rid of everything that's one color. Choose the tool then click on the white, it will select it then cut to remove it. This only works if there is an absolutely clean line. Otherwise, you need to trace the object, which takes a little longer.


Now just move and re-size the hat. Play with the contrast, color and such until you're happy.


When you're happy, Save for Web to make it a JPG. You can alter the quality to change the file size. Now, it's ready to upload.

That's it. I hope it's clear and encourages you to try to play. You can use the same methods to make heroes, wrestling or any other type of changes you want.
Alex
Wow! Wonderful tutorial. Thank you! I have been looking forward to a post like this as a big fan of your images.
ReplyDeleteI gave it a try. Even though it's nowhere near the quality of what you do. It was a fun process: https://i.imgur.com/kABvgSK.jpg
Let me know what you think! And if you may even want him in the Cave sometime in the future, hehe.
Oh great! I’m glad someone found it useful. The image you shared is great. What did you change/do to him? (And who is he?)
DeleteIt's an awesome tutorial, thanks for the hard work of putting it together.
DeleteThe original image is here: https://www.instagram.com/p/B8VZ8T0FdIa/
I didn't do anything too complicated and only changed the background and trunks. Not very successful. The model name is Mike, and he has a pretty awesome insta page: https://www.instagram.com/mikechabotfitness/
I think you did a great job. After all, if the changes aren’t obvious, that’s a win.
DeleteI’ll have to check out Mike’s IG in more detail. Thanks for the link.
Wow!
ReplyDeleteI found this to be very interesting (though I've always been interested in Photo techniques)...
Thanks for sharing this info, Alex!
You’re welcome!
DeleteWoah this is pretty cool! I dabbled with Image editing using GIMP but never tried to do as much as you did in just this tutorial. I'll definitely keep this in mind if I try writing again! If only I had the motivation and skill to write haha.
ReplyDeleteHere's hoping there is a 102 lesson!
102? I’m not sure I have anything left to teach. The only other thing I ever do is shrink guy’s heads and widen shoulders to make them look bigger or taller. I don’t do that very often, though.
DeleteI’m sure you have the skill. Can’t help with the motivation, though. :)